
How to Create an Estimate
Create a new draft estimate by choosing a customer and property, then saving. This starts the estimate as an internal working record that can be edited before it is shared with the customer.
Who this is for: Owners or staff who create estimates.
Before you begin
Section titled “Before you begin”- At least one Customer exists in your workspace.
- The customer has at least one Property on file, or you are prepared to select one during this flow.
-
From the Estimates list, click New estimate.
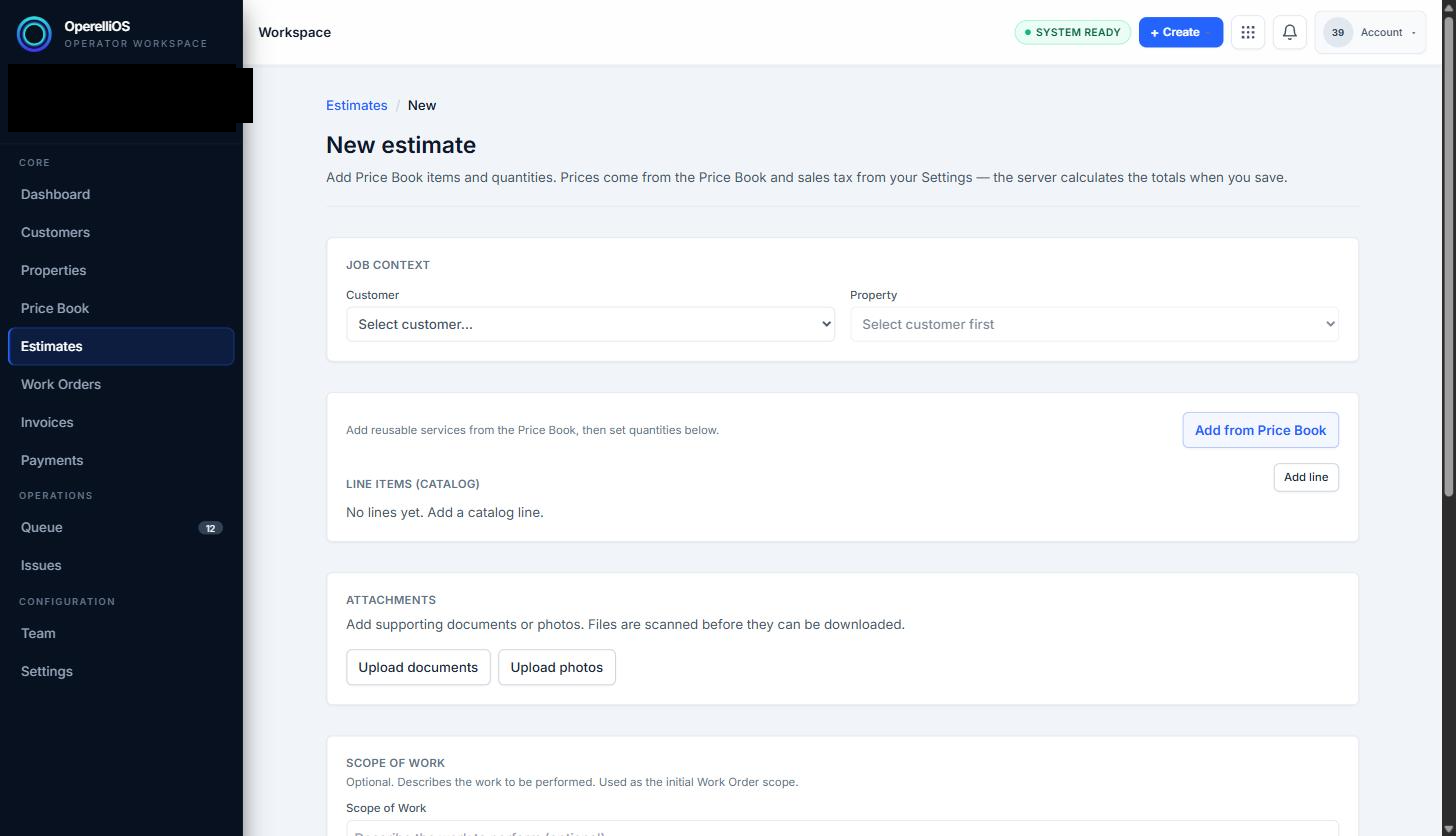
The New estimate page starts with an empty Job context section and no line items.
-
Under Job context, select a Customer. The Property field becomes available once a customer is selected, and auto-selects if the customer has only one property on file.
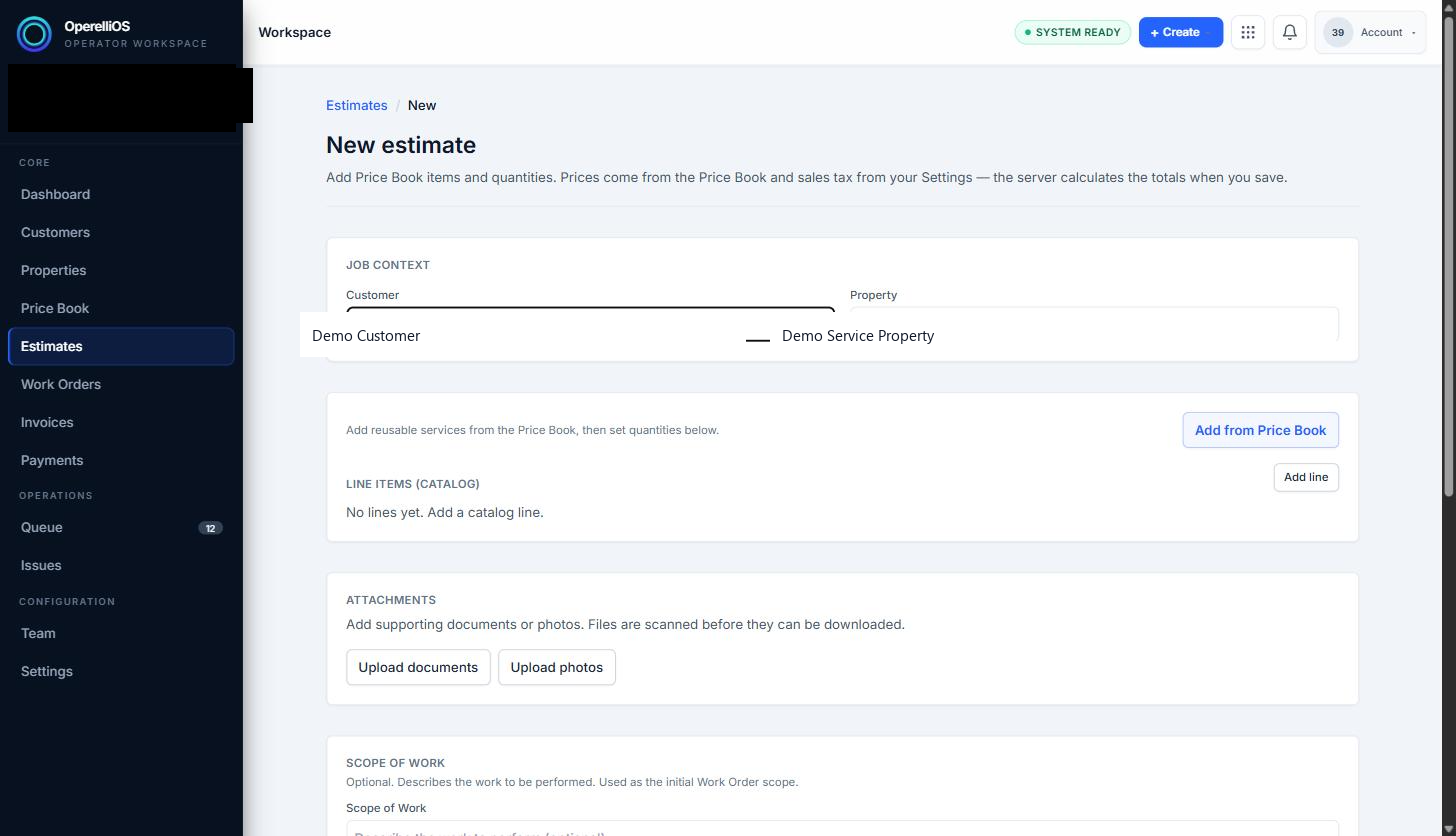
Selecting a customer enables the Property field. Captures use synthetic demo labels.
-
Optionally fill in Scope of Work, upload attachments, and review the prefilled Notes & Terms (these default from your workspace Settings → Sales → Estimates configuration and can be edited per estimate).
-
Click Create draft to save the estimate.
Expected result
Section titled “Expected result”A new estimate is created with Draft status and a sequential estimate number. You are taken to the estimate detail page, where server-calculated totals and further editing options are available.
Warnings and notes
Section titled “Warnings and notes”- The New estimate page itself does not calculate official pricing; it states that subtotal, tax, and grand total only appear after the server saves the draft.
- Creating the draft does not send anything to the customer. Sharing is a separate, explicit step.
- Deletion of an estimate was not tested and is not documented here.